

How to Change your EOS Public and Private Keys
Several people in the community may wish to change their keys from time to time. Most urgently they have been compromised, in other cases you are changing permission structure, or to prevent the exploit of one private key compromising many accounts.
Whatever the reason we developed the Permission Management feature of eostoolkit.io to make this as easy as possible.
The process
This process uses Scatter and eostoolkit.io
Step 1. Configure scatter with your existing key
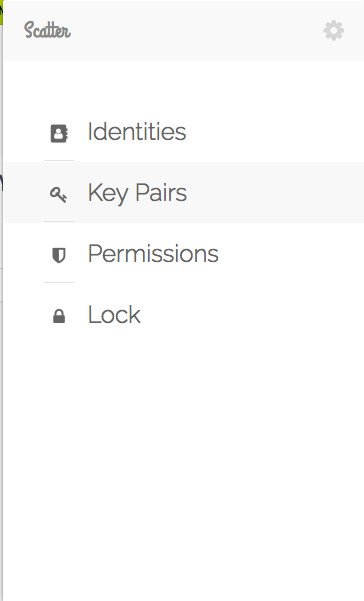
Open scatter and go to Keypairs
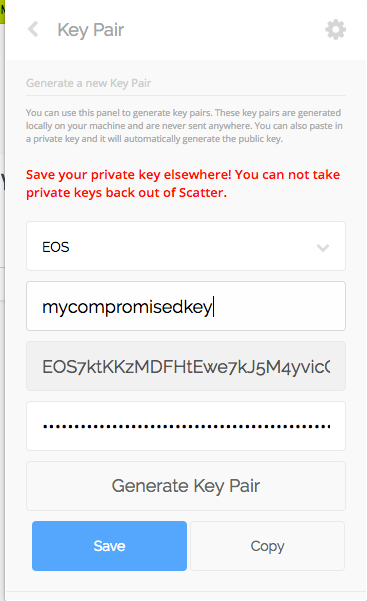
Paste your private key and give it a name. Click Save.
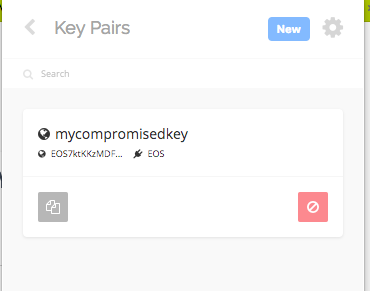
Confirm the keypair is there
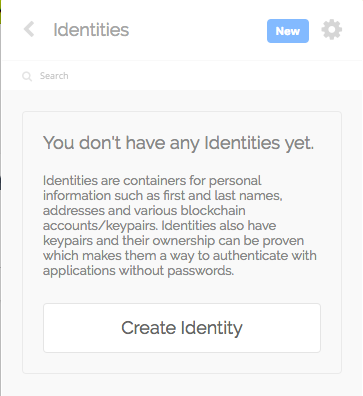
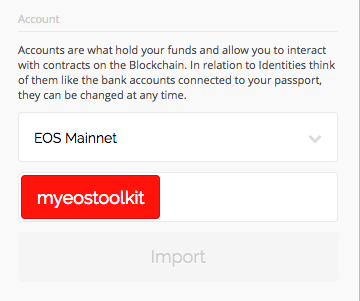
Now go to identities
If you have no identities click “Create Identity” otherwise click “New”
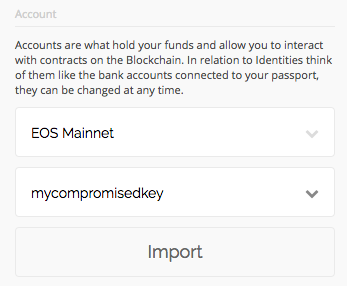
Select the EOS Mainnet and your keypair. Click Import
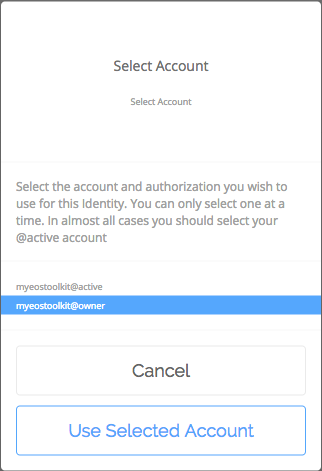
If you want to change your owner key select youraccount@owner
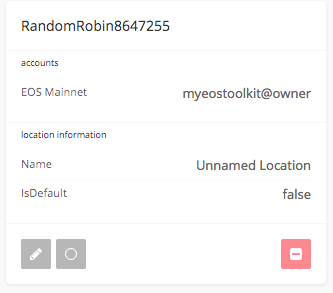
Confirm your new identity
Step 2. Go to eostoolkit.io

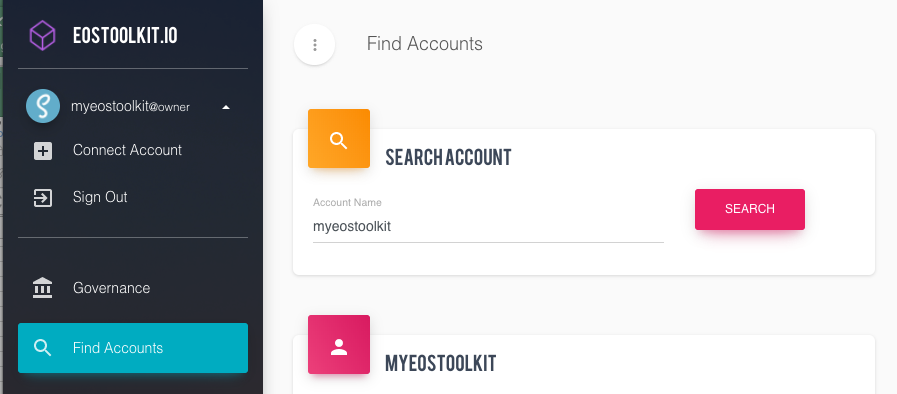
Lets confirm the account is using our old keys. Use the account search and enter your account name and click Search
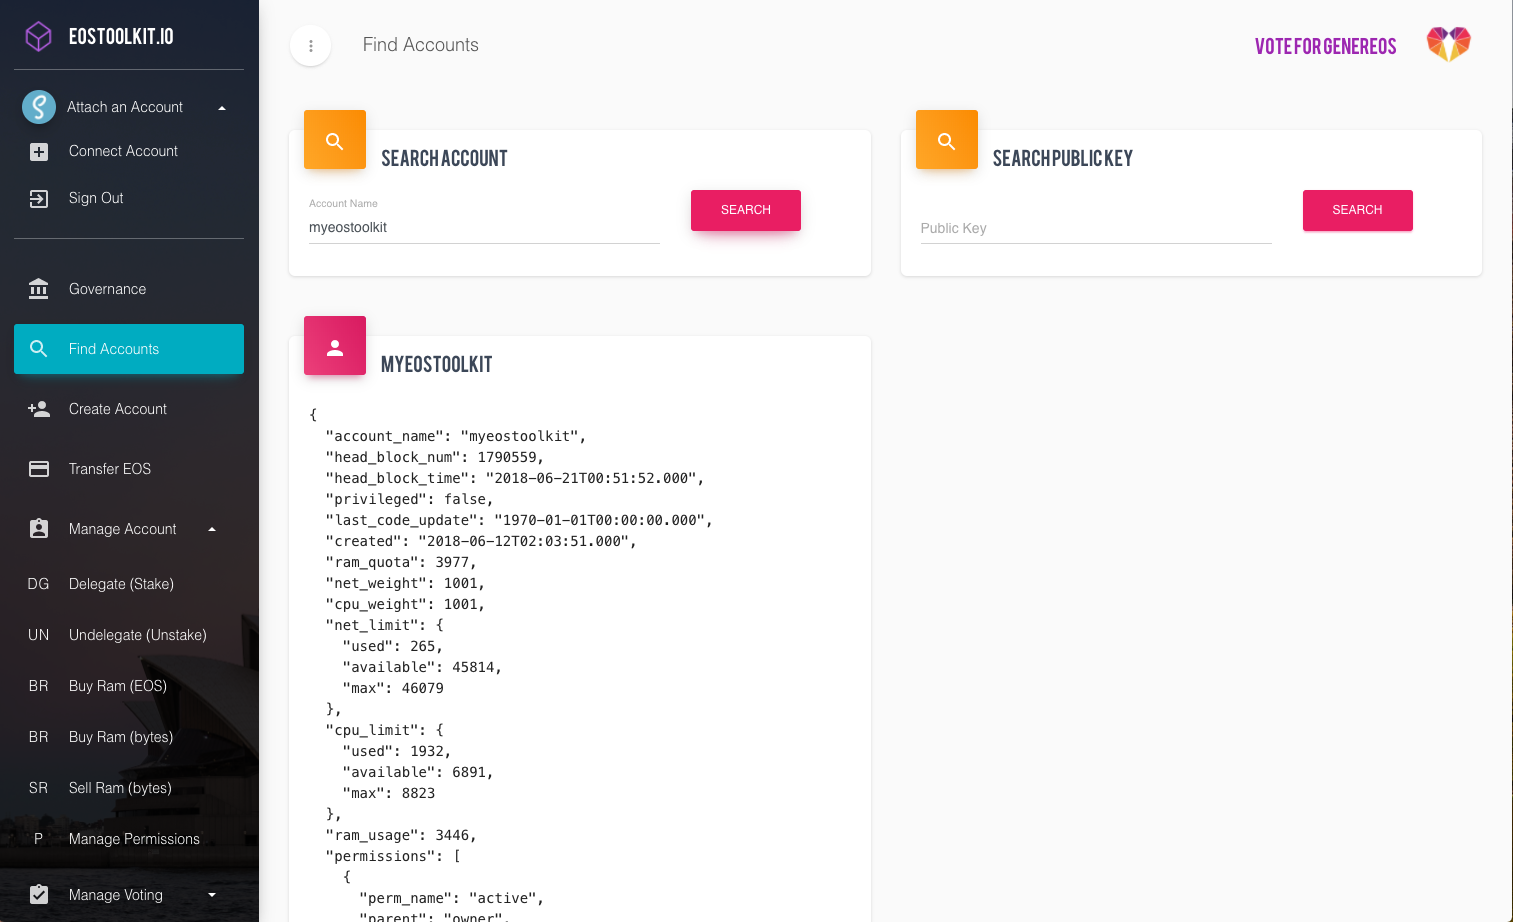
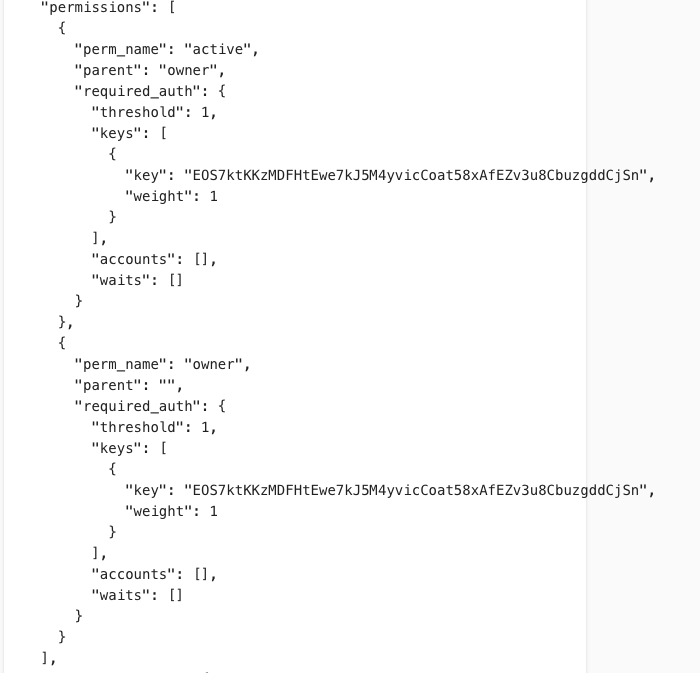
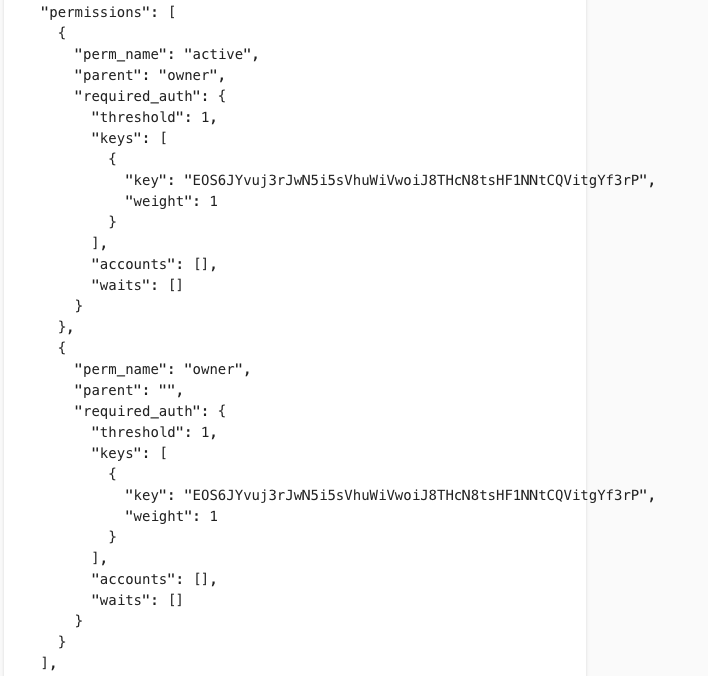
Scroll down and find the permissions json. The active and owner key should match the one you loaded in Scatter.
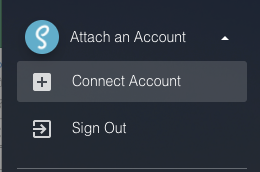
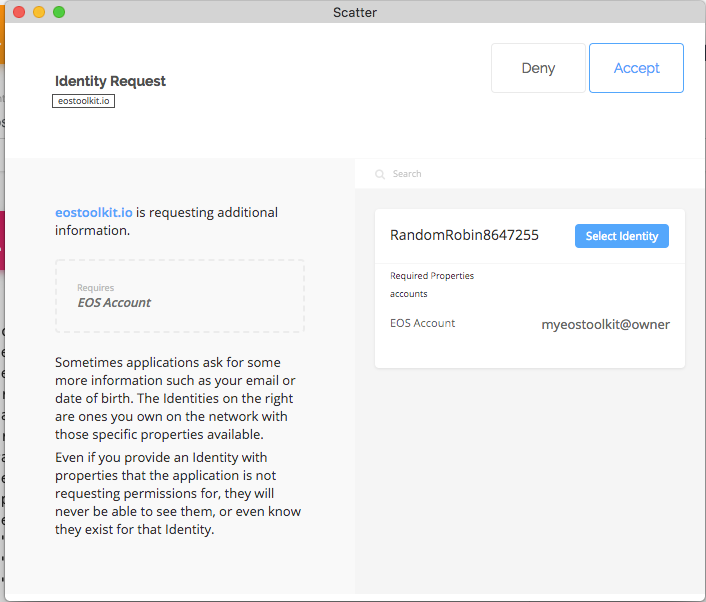
Attach the scatter identity you created
Select the correct identity
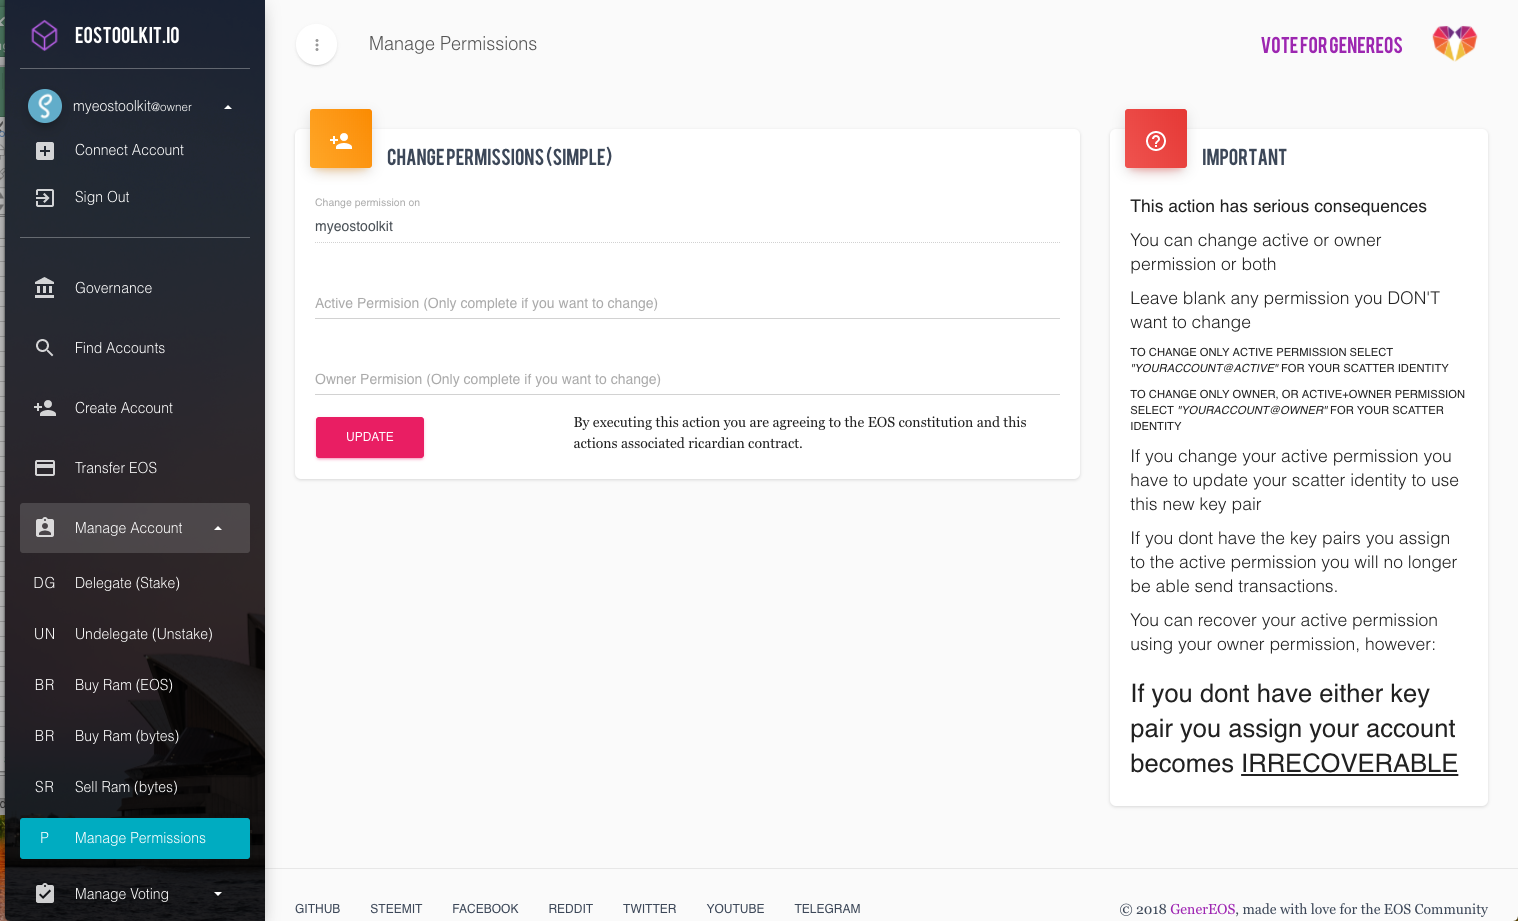
Step 3: Go to permissions tools
Select the Manage Account drop down and go to Manage Permissions
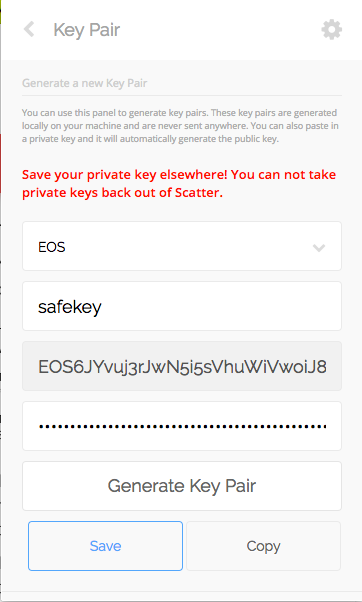
Step 4: Create a new safe key pair (optional)
You can use an offline key generator, an existing safe keypair that you already have, or follow these instructions to use Scatter.
Create new key:
- Provide a name
- click Generate Key Pair
- immediately click Copy
- and then click Save.
Immediately paste your new keypair and store it securely:
- Engraved titanium
- Laminated paper in a fireproof safe
- Ledger/trezor once supported
- Keepass
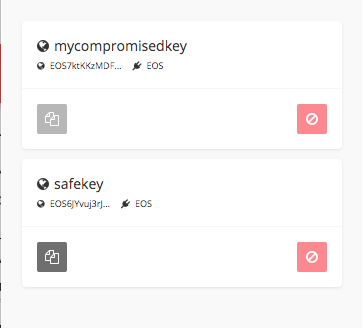
Once a keypair is loaded into Scatter it CAN NOT be recovered due to encryption and security
Confirm your key has been added to Scatter
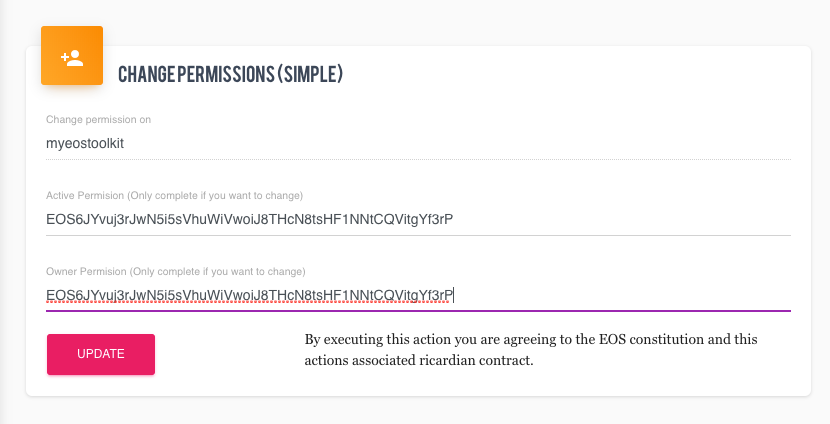
Step 5: Update the keys!
Enter your new public key (or keys) into the appropriate fields on the eostoolkit.io and click Update
A pop up will appear… Scatter is taking a moment to sign the transaction and download ricardian contracts.
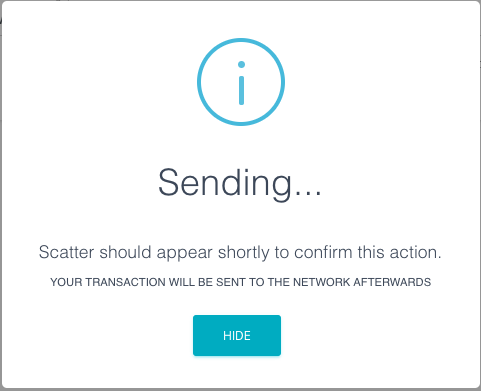
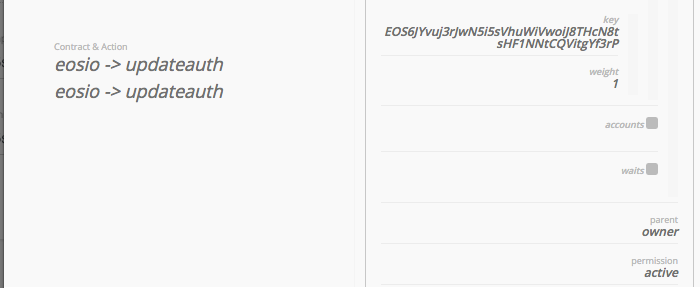
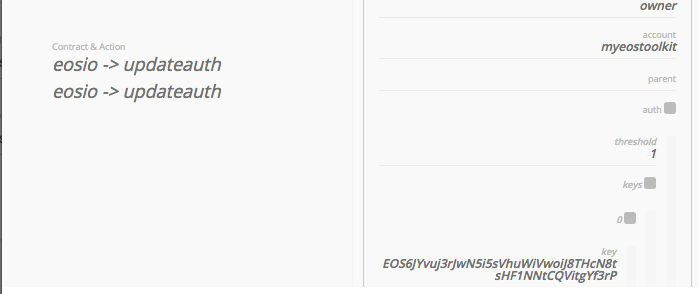
Scatter will appear for you to validate the transaction
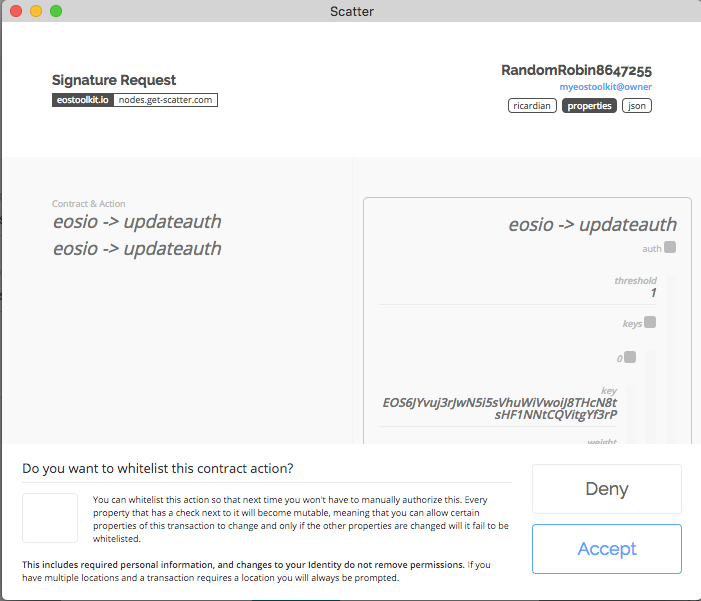
SCROLL AND CONFIRM THAT THE KEYS ARE RIGHT
Active key:
Owner Key:
Click Accept and hopefully…
Note: If you get an error that there is not enough resources for this transaction, you need to stake or delegate more NET and CPU
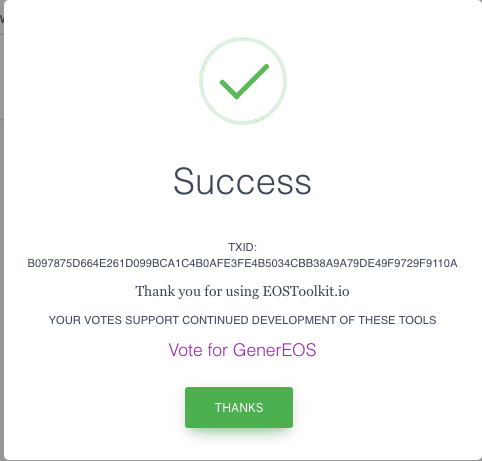
Step 6: Let’s confirm!
You can take the TX Id from the success message and put it into a tracker such as eostracker.io
You can also lookup your account again. You must click Search again if your name is still there.
Verify that the keys have changed
Success!
Step 7: Update Scatter
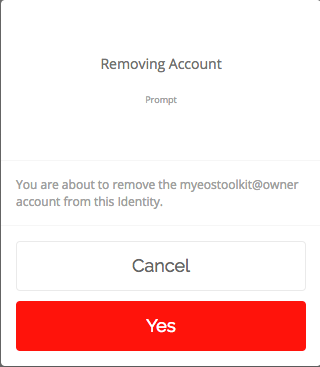
Lets go to our identities
Click the Pencil button
Click your EOS account name
Click Yes
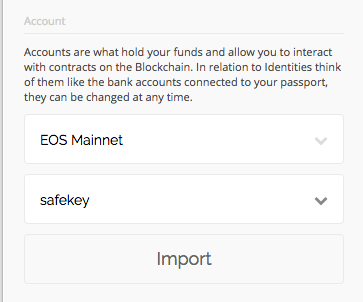
Now select your new key from the dropdown and click Import
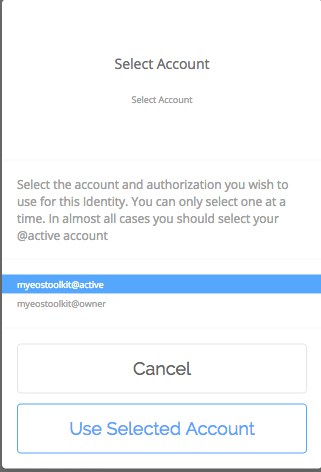
Select youraccount@active for future transactions.
Don’t forget to click Save once your done
All finished!
Stay safe out there!
We hope this tutorial helps keep everyone safe.
Remember that this information helps the phisher or hacker too, so please act quickly!
Never share your private key online or with untrusted tools.

I love your toolkit and I vote for you. But I messed up a permission-key-account and can not fix. Is there any solution.
Here is my question on Reddit:
https://www.reddit.com/r/eos/comments/8z5cyl/i_messed_up_accountkey_linkage_with_eostoolkit/
Hi Robert,
Thanks for the support you may wish to check out our Article on permissions https://steemit.com/eos/@genereos/psa-don-t-break-your-eos-accounts
Otherwise feel free to contact us on telegram : https://t.me/generEOS
Cheers
Tom